How Geothermal Energy is installed in your home
Have you ever wondered how we install geothermal energy into your home?
As the 14-ton rock drilling rig was unloaded at the edge of my driveway I was excited and alarmed at the same time. How was this giant machine going to fit on my lawn and drill the holes needed for my DX geothermal system. As the tracks made their way across my lawn with minimal impact on my lawn, I calmed down a bit and finally swallowed and took a breath. After about an hour of measuring and marking up the lawn with marking paint they were ready to start.
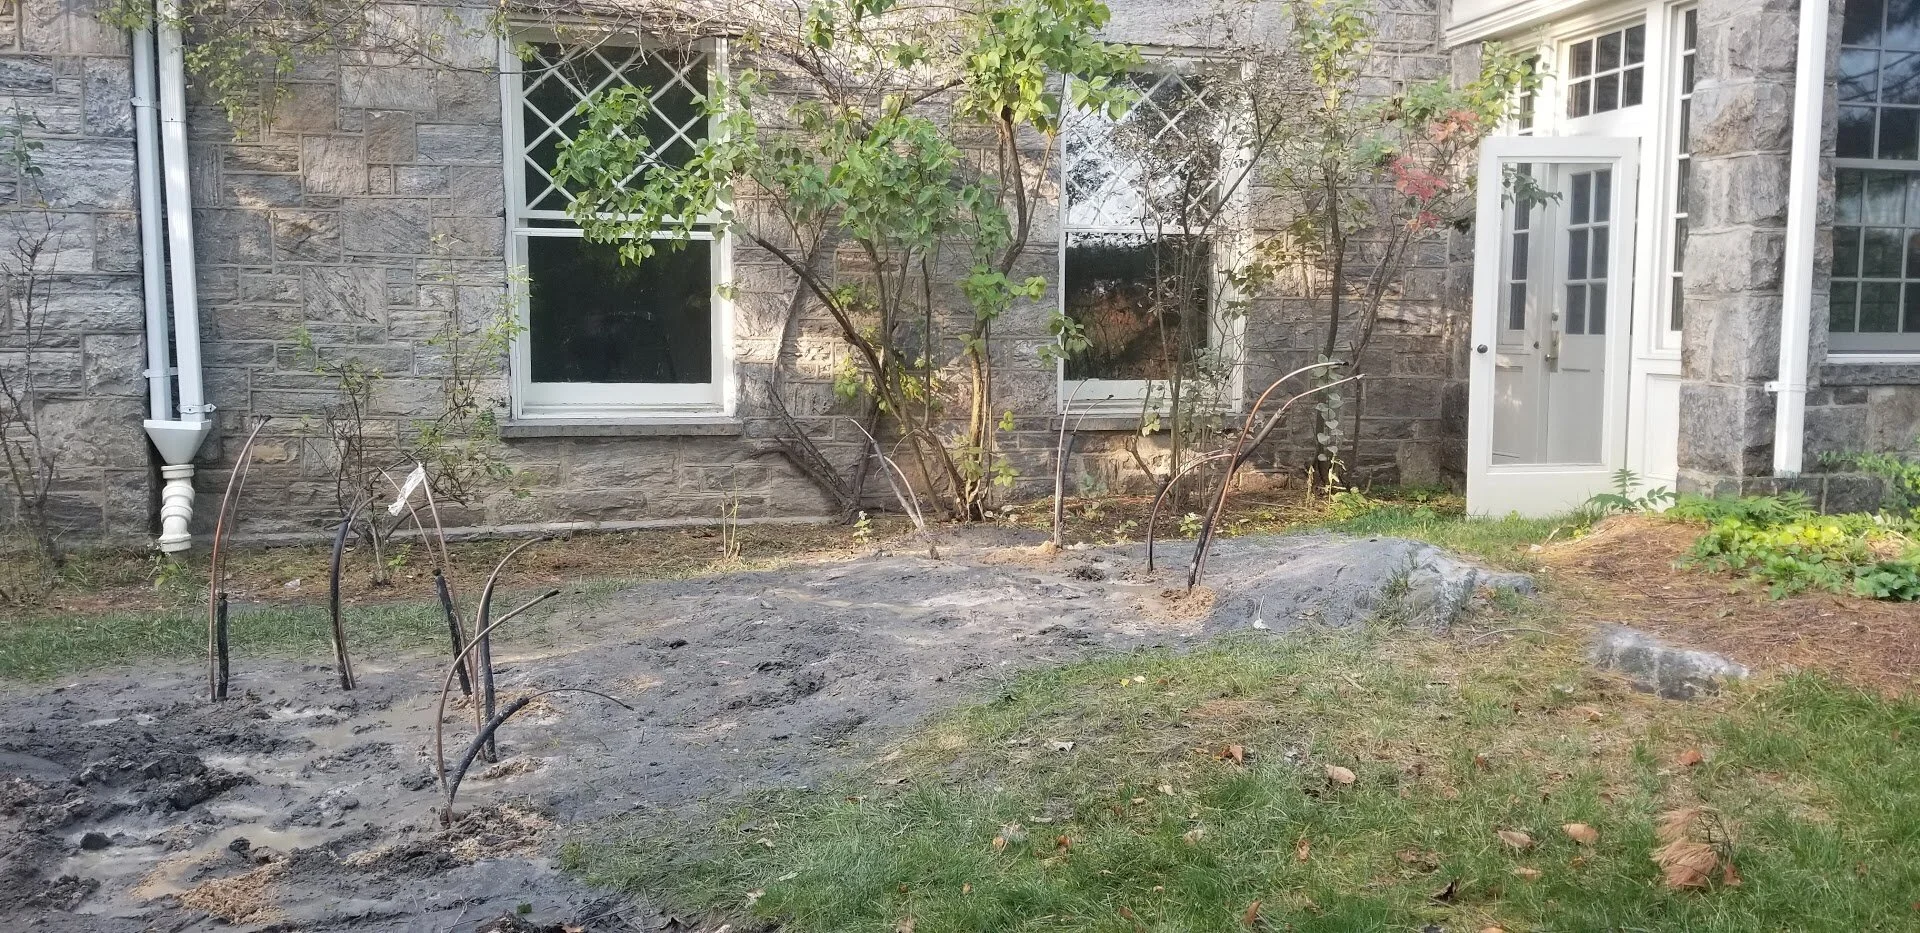
One- and one-half hours later there was a single 100 ft. 3.5-inch diameter hole in the lawn ready for the first earth tap installation. This process was repeated 7 more times until all 8 holes were completed in an exceptionally clean 6-foot diameter circle. Not that much debris as I had read about online. In fact, the whole area was still relatively clean. This process took two days to complete.
Then the mixing started. Many bags of grout were mixed with water on a paddle mixer and then pumped into the bottom of each hole. The pipe that was placed all the way into the hole was removed as the grout was being pumped in until the entire hole was full. I asked how many bags were needed per hole. 12 was the magic number.
All the holes were filled with grout just in time for the trenching to start. A four-foot hole was dug in the center of the loop field going all the way out to where the 8 holes were drilled. This part of the trenching seemed to happen in minutes not hours. I was surprised when there was a trench run from the four-foot hole up to the foundation wall. The trench was exactly 18 inches wide all the way to the house. It was so exact in width and depth.
All of the copper pipes in the ground were then separated. All of the larger ones were connected to one spider looking devise that they called the vapor manifold. All the smaller pipes were connected to a smaller spider looking devise called the liquid manifold. A coper line-set was then connected to each manifold and run along the bottom of the trench to the house. They repeated these steps for the second four-ton system. The whole spider process took about 4 hours.
One four inch and one 3-inch hole was drilled into the foundation of the house into our utility room so that the pipes running along the trench could make their way to inside of the house. Once they were placed through the holes the holes were closed up with hydraulic cement. This took approximately 1.0 hour.
I followed the installers into my house and into the basement utility room where they told me that they were going to pressurize the system with nitrogen. This took about ½ an hour. They then explained that they were going to leave the system under pressure for two days to make sure that the system did not leak.
Two days later the system was still holding pressure at the same pressure it was left at and the back filling began. All of the manifolds and line-sets were covered with sand about 18 inches deep. Then all of the dirt that was excavated was place back on top of the trench.
Ready to get started? We are ready to serve you, Contact us here to get started.


